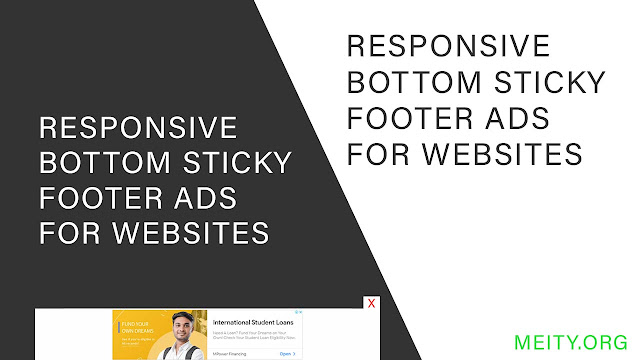
Responsive Bottom Sticky Footer Ads For Websites
How to set up sticky banner ads in Google Ad Manager
Before you get started creating sticky banner ads, confirm with your ad network partner that you can implement them. This is because — as per the first point in the cons section above — some ad networks don’t allow them to be displayed. Therefore, these types of ads require a declaration within the ad network you’re working with.
If your ad network permits them, sticky ads are available with Google Ad Manager. Here’s how you get started:
- Start by signing into your Google Ad Manager account. Once you’ve signed in, click on the Inventory drop-down menu, and then navigate to AdExchange Rules > Publisher Declarations.
- Define the inventory type by clicking Display. Now click on the New Display Publisher Declaration.
- You’ll need to enter a name for your declaration, so go ahead and do that.
- Choose which inventory you want to include or exclude for audience targeting purposes. Then click on Sticky Ads and choose between horizontal and vertical ad positioning.
- From here you can choose to save your work by clicking Save, but in case you need to refresh the inventory, follow these steps:
- First, click on the boxes placed under Refresh Triggers. This ensures that the selected inventory refreshes (which is the whole point of doing this).
- Specify the minimum time interval you want between each refresh cycle.
- That’s it — click Save to finish up.
How to set up sticky banner ads in Manual Setup
CSS Section - Use this css code in your website to Setup sticky banner ads. Copy this and paste it to css section or additional css section of your website.
HTML Section - Use this HTML code in your website to Setup sticky banner ads. Copy this and paste it where you want to appear your ads of your website.
